Delete them? Of course not! Here are some tips on how you can save blurry photos from the trash bin and give them new life.
Please note, when you purchase a product through the links below, we may receive an affiliate commission (at no additional cost to you) which helps to support this project. Thank you!
Nothing matches the frustration of coming home after an exciting photoshoot, only to discover that some of your shots are out of focus. Worse still is the knowledge that it may be difficult or impossible to get those photos again. Flowers die, sunsets fade, insects buzz off and toads hop away. When nature is your model, these moments are ephemeral.
It may be tempting to hit delete on those duds, but wait! STOP!! There may be a way to salvage them or repurpose them for other uses.
I selected a variety of photos for this article for two reasons. One is to show examples of what you might achieve. There is hope for blurry photos! The second reason is that I have no shortage of blurry photos. 🙂 You will see that after a little TLC, these photos are ready to go out into the art world!
Just a note before we get to work:
I use PhotoScape X, a free photo editing program for all the post-processing of these blurry photos. As time permits I intend to post a series of PhotoScape X tutorials about this software. I hope that these will become a useful tool for those interested in photo editing.
-Christelinda
Pro Tip! Try this first for blurry photos!
Sharpen Your Blurry Photos
This step only works for mild cases, and you may have already tried this. Sometimes if a photo is just a little bit out of focus, sharpening can save it. If not, then it is on to Artistic Ideas Time!
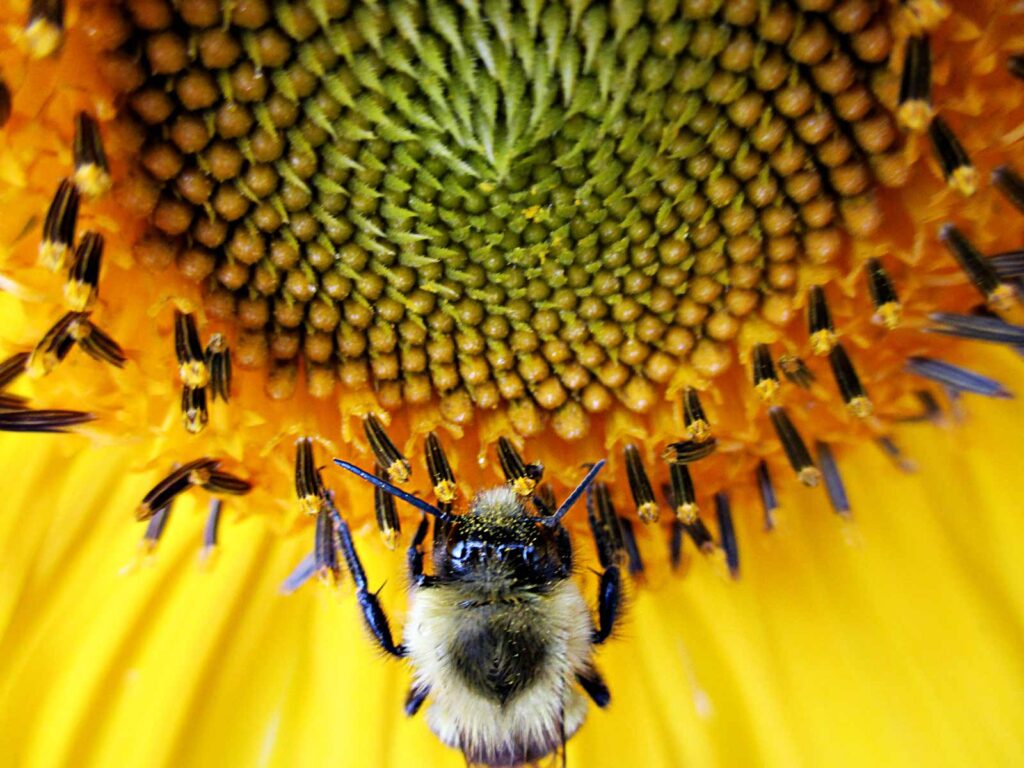
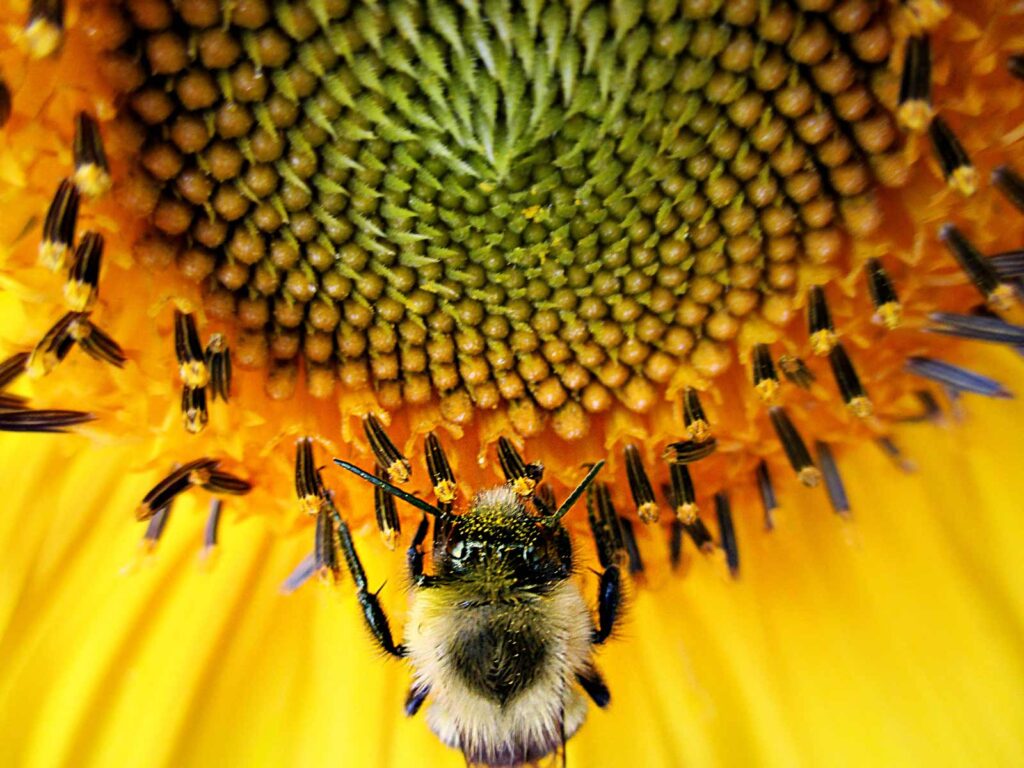
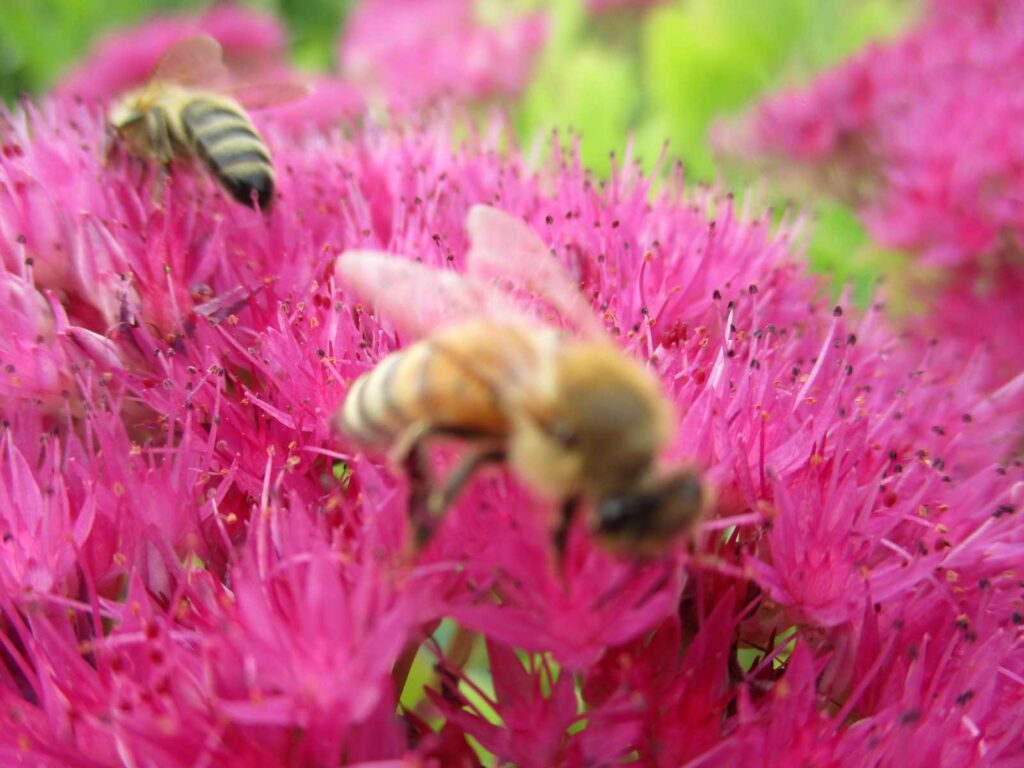
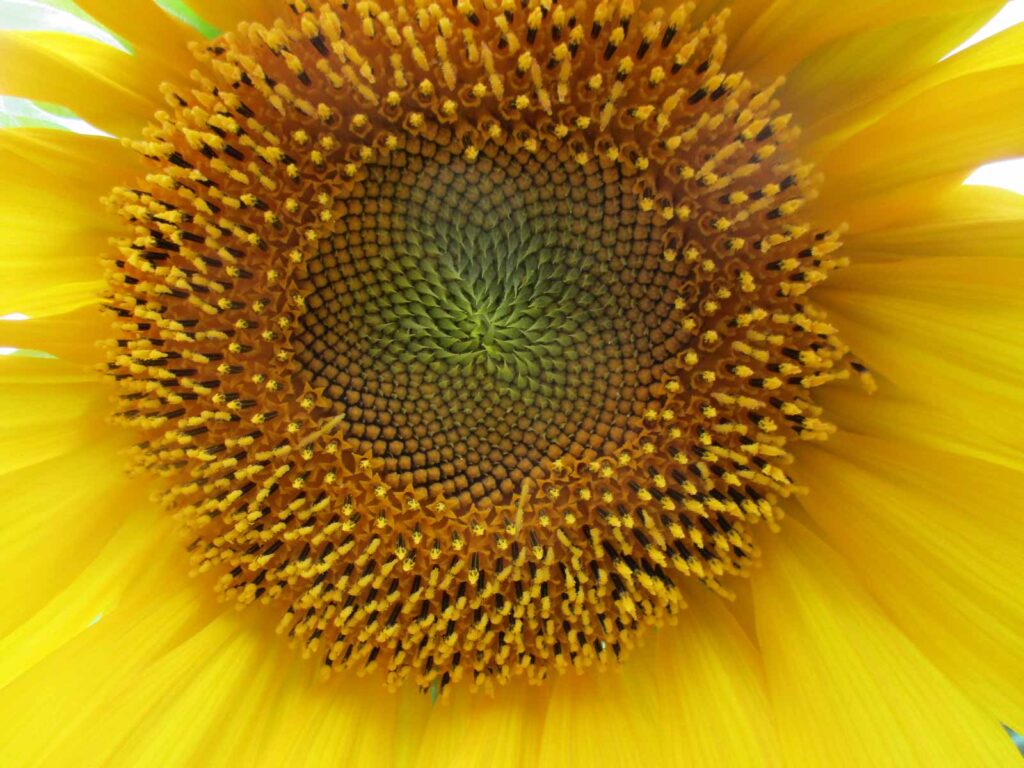
This bee head was just a bit blurry, and the tone was too blue, for some odd reason. After some sharpening and colour correction, this bee was ready to fly onto one of my happy birthday cards! The sunflower head is still blurry, but I planned to blur it further and add text over it, anyway. More on that soon!
If sharpening doesn’t work, then it’s time to try something else. Here, then are seven artistic ideas to repurpose your blurry photos and save them from the Recycle Bin blackhole.
1: Create Poly Art
The Triangles Effect
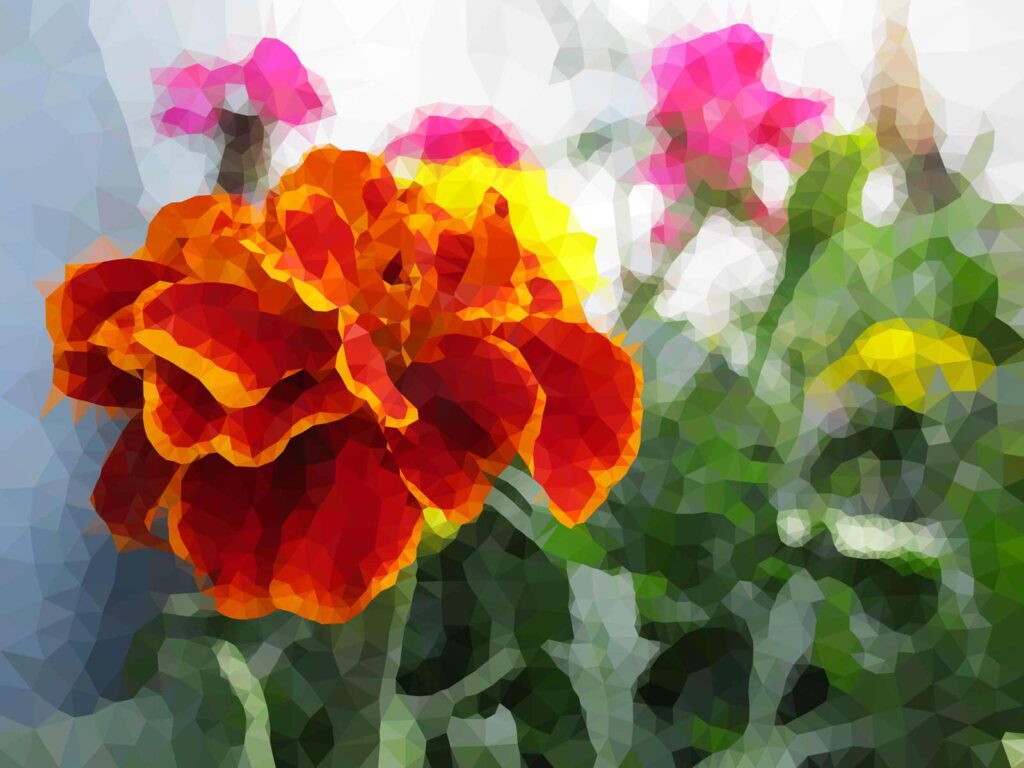
Unfortunately, this photo of geraniums in full bloom was not rescuable with the sharpening tool. I decided to turn it into a piece of poly art.
I could do a whole article on poly art but I contained my enthusiasm to a couple of examples – Triangles and Crystalize.
After applying the triangles effect in PhotoscapeX, I ended up with a vibrant piece of low poly art!
The Crystalize Effect
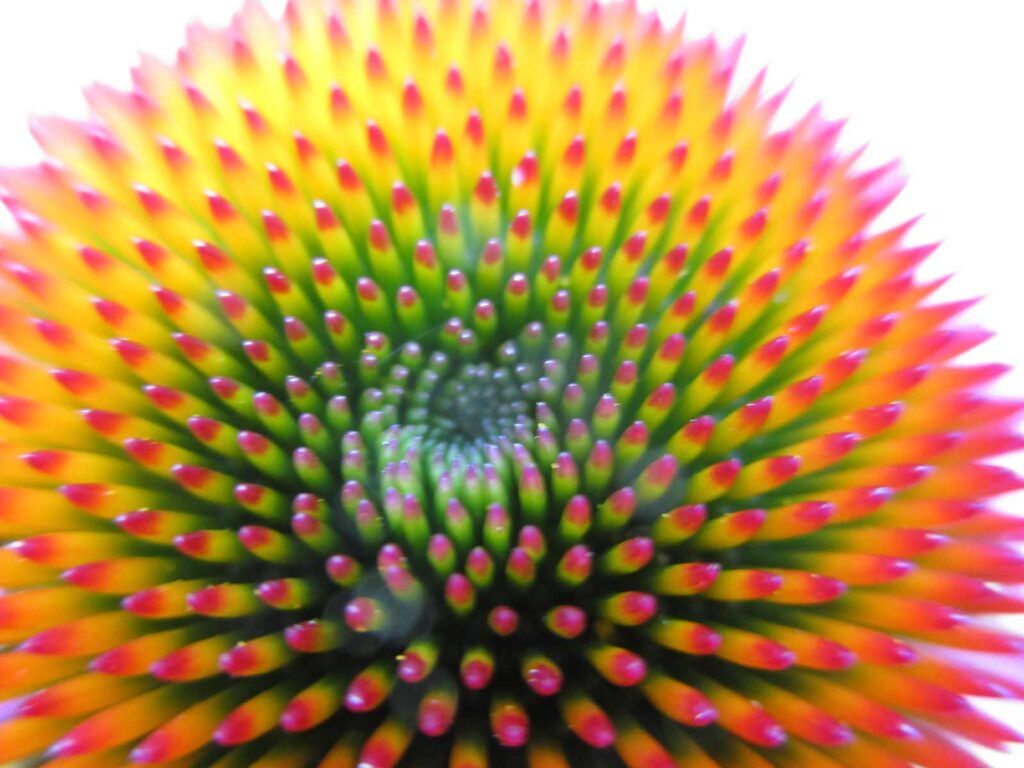
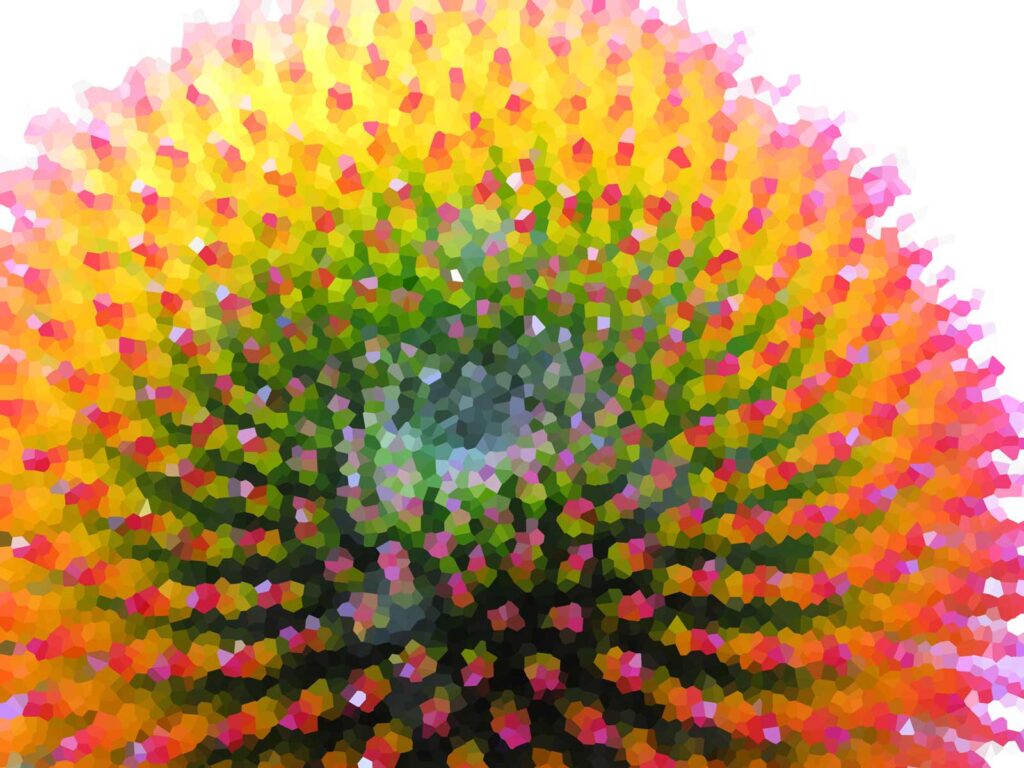
In this second example, I photographed a cone of an echinacea plant. The colours are exciting, but it is too blurry to be usable.
I applied the crystalize effect, and now I have a very cool piece of polygon art that just pops right out of the page.
It looks awesome!
2: Use Special Effects
Stippling Effect
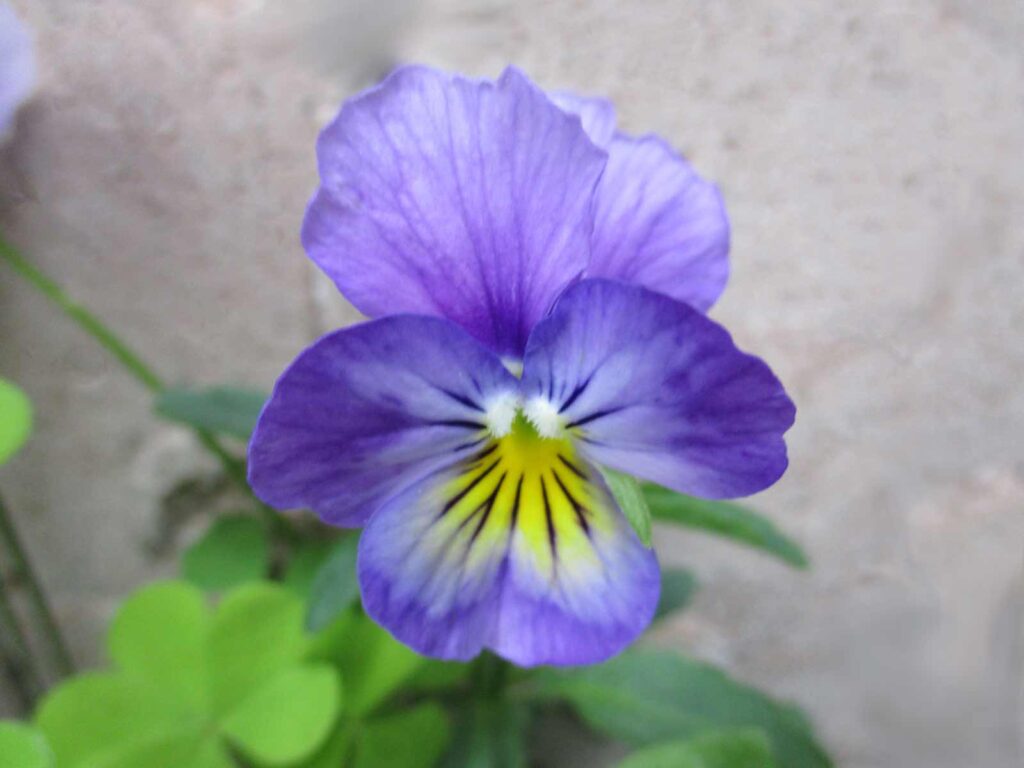
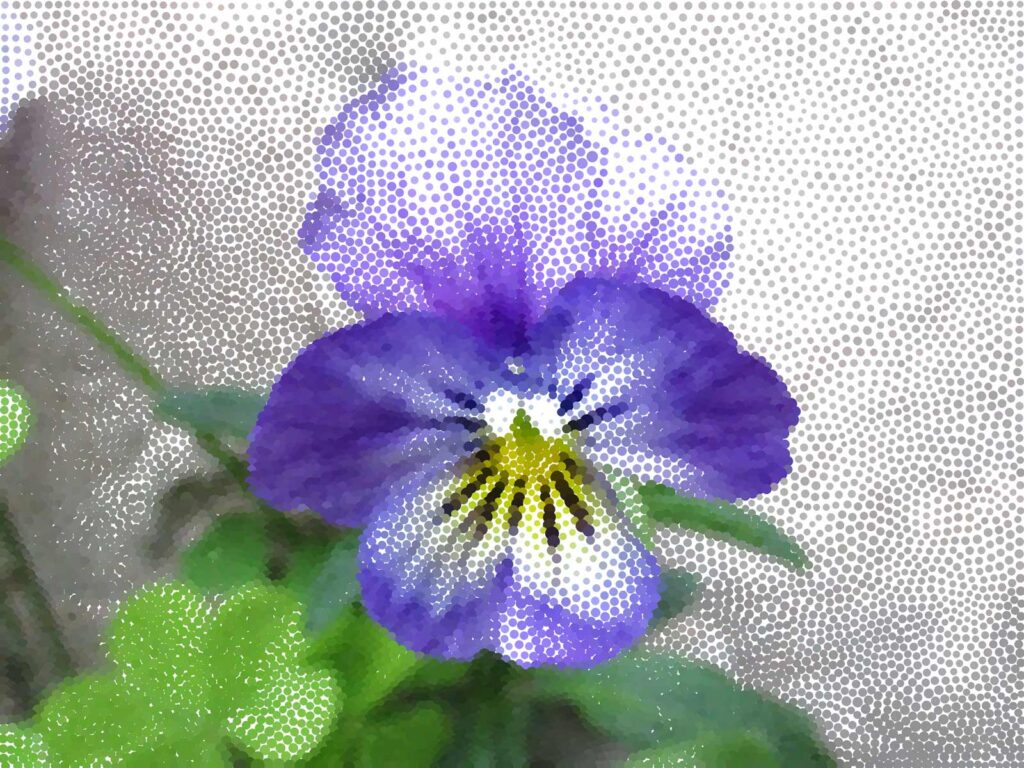
There’s a whole world of special effects for you to explore, and not all of them require sharp photos to work well. Blurry photos may make no difference to some effects.
This pansy is nice, but it is not as sharp as it could be. I applied the stippling effect to generate an interesting piece of work made entirely with dots.
3: Create a New Piece of Art!
Kaleidoscope Effect
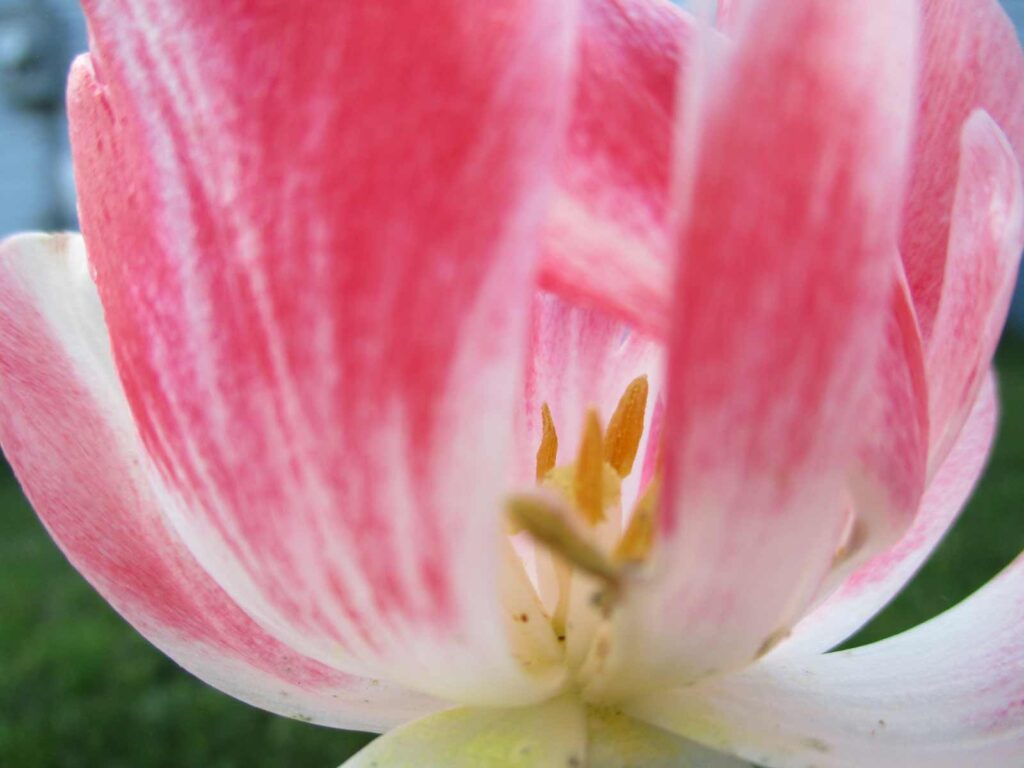
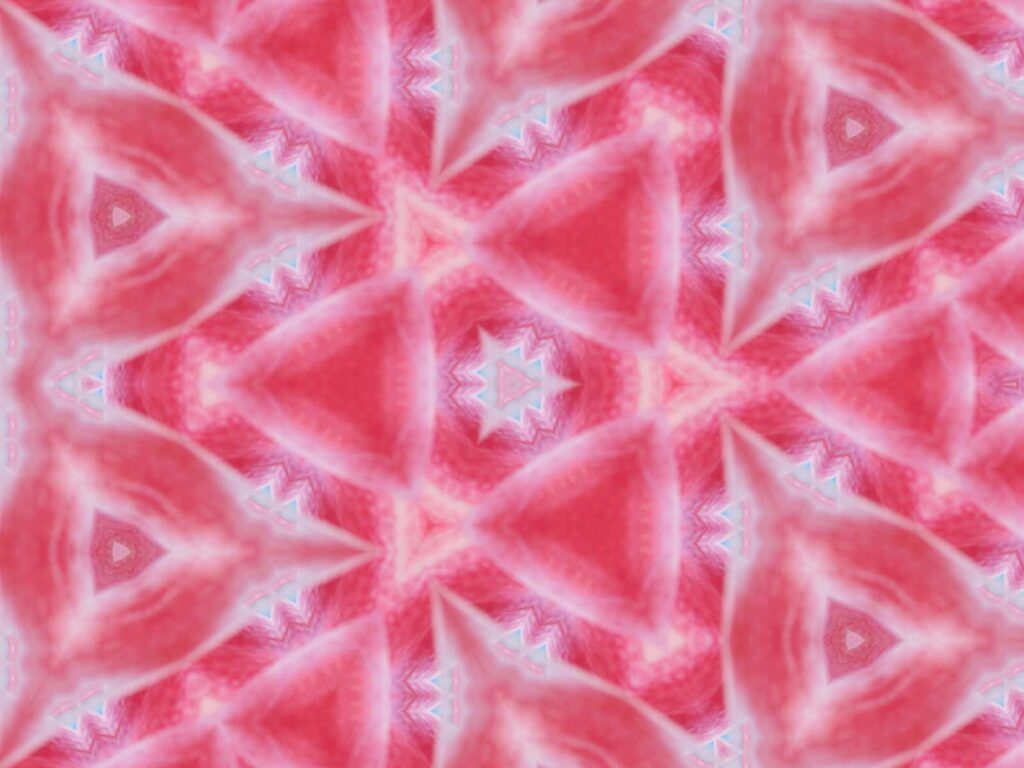
In this tulip, the stamens are somewhat clear, but the petals are blurry and distracting. I applied a kaleidoscope effect and experimented with the settings until I found a cool effect.
Notice how the blurry parts provide a nice contrast to the sharp triangular shapes in the centers?
Warning: playing with the kaleidoscope tool may take a lot of time because it is so much fun!
4: Use as Backgrounds
Apply Blur to blurry photos!!
Yes, we’re going to do it. For colourful photos with lots of soft shapes, the result may make a pleasant background, such as the cover image used for this article.
5: Text Masking
Create a Text Mask
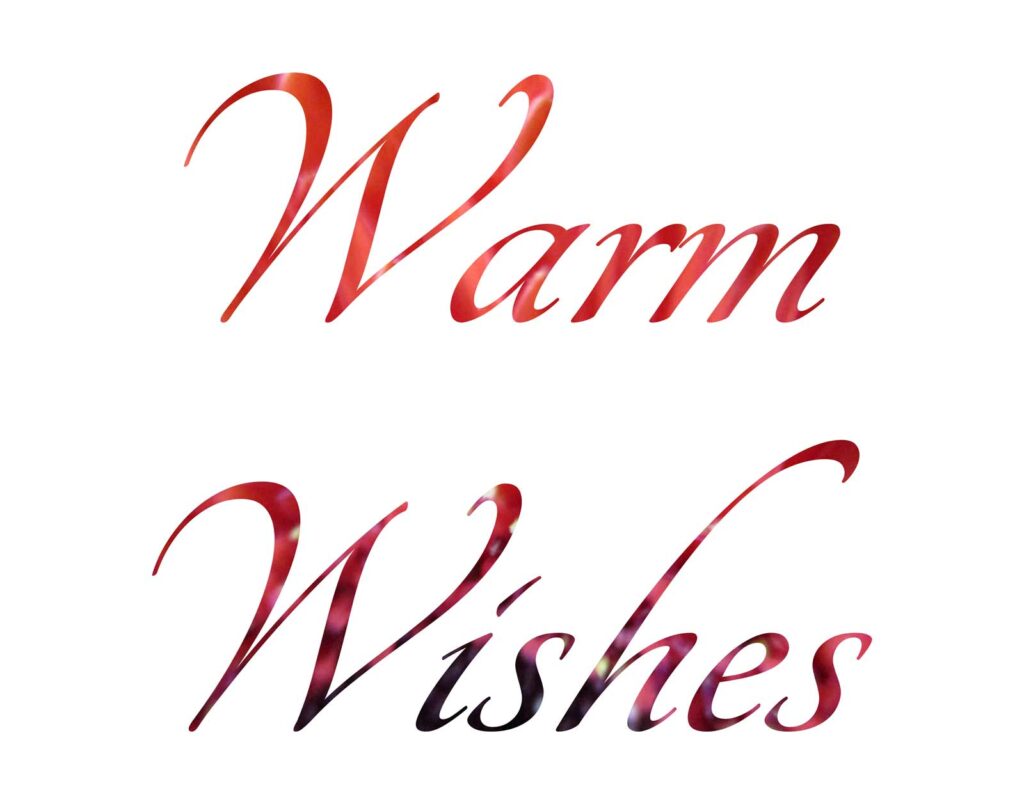
People will be focusing more on the words than on the image anyway, so a blurry photo may work better in this case.
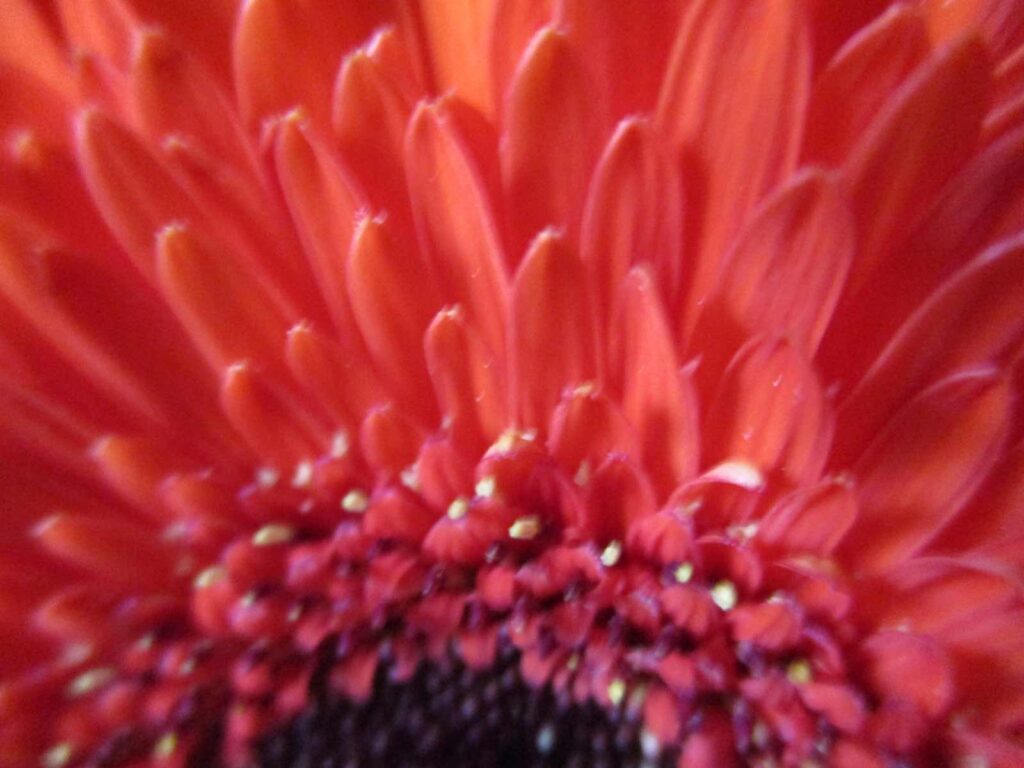
Unfortunately, this Gerbera daisy was photographed in low light and I was not using a tripod. The result was a blurry photo. I applied a text mask and selected a fancy-dancy font. We now have something usable!
6: Use as a Model
Inspiration for a Painting
Use your blurry photo as a model for a painting, drawing, watercolour, or anything else you can imagine!
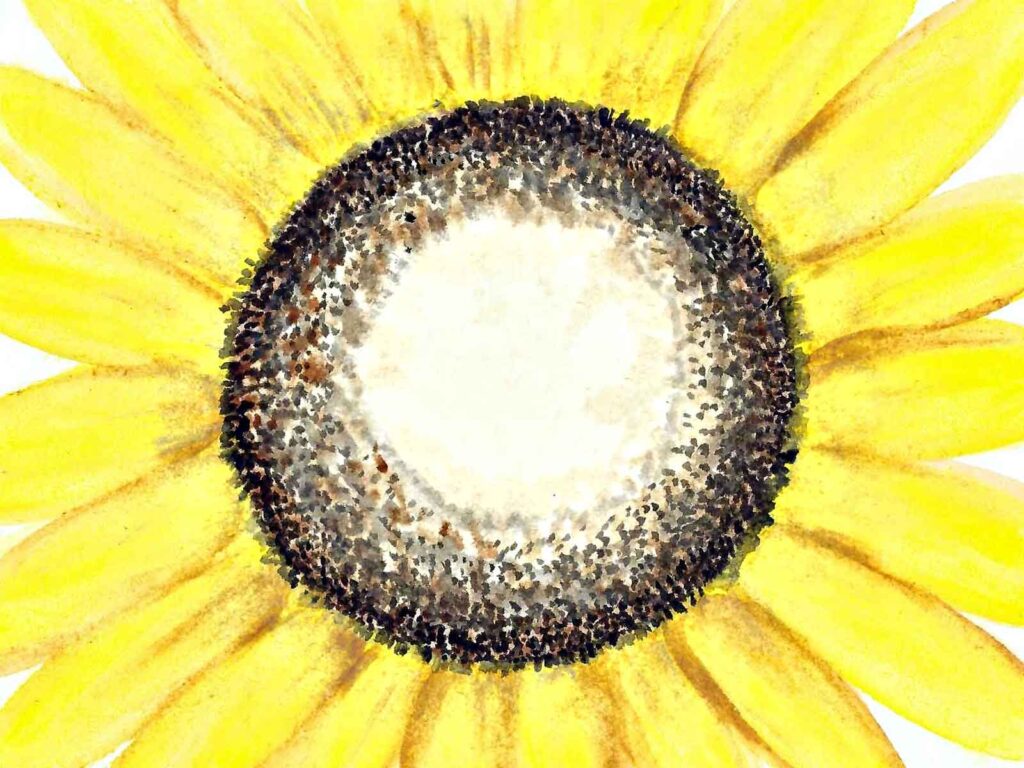
This slightly blurry sunflower photo inspired me to use it as a model for a watercolour painting, which later became a lovely card for a friend.
7: Embrace It
Go Abstract
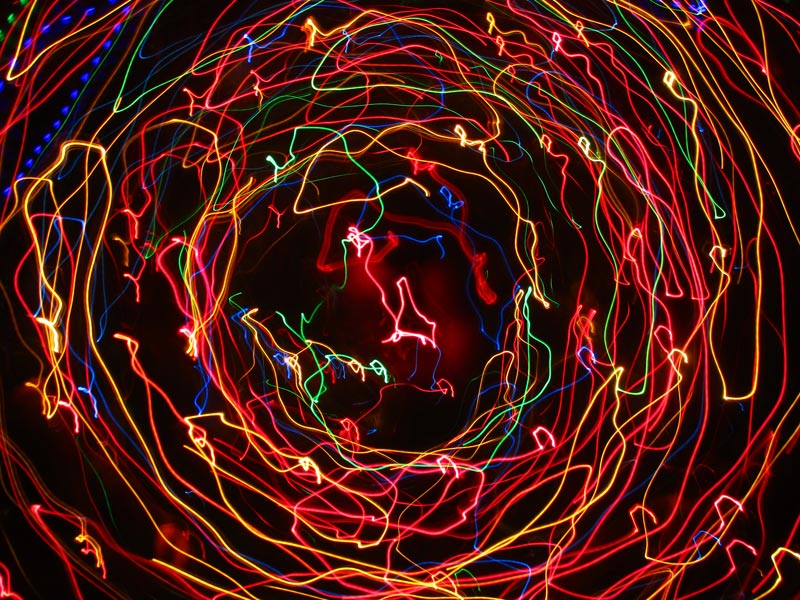
Life can get exciting and messy and blurry sometimes and embracing it can sometimes lead to new artistic inspiration. Here is an example where a blurry photo can become a work of art.
Can you guess what this is?
It’s Christmas tree lights! I moved the camera accidentally while photographing our Christmas tree. This led to a series of exciting, dynamic photos of light trails that I would not have discovered otherwise.
Wrapping it Up
So, what did we cover in this article?
I hope you learned that there are different ways to rescue blurry photos from their usual fate – the dreaded Recycle Bin.
Some of the methods involved taking the original file and creating derivative art from it such as adding filters, applying special effects, or combining them with text.
For blurry photos that were truly non-salvageable but still colourful, adding even more blur gave them a new purpose as soft backgrounds.
In other cases, the photos were used as models for other art media.
And lastly, you learned to embrace photos, blurs and all.
Keep photographing, and don’t be afraid to celebrate your photos, blurriness and all. You never know what might happen.
Let me know in the comments what you do with your blurry photos. Have you tried any of these ideas?



Interesting ideas for using the blurry pictures. Will you be doing an article on how to use the program you mentioned sometime? It sounds like it might be fun to learn the “how to” !
Thanks, LJ. Yes, I plan to write an article introducing PhotoScape X soon!
These are such awesome and creative ideas. I do social media for a health store and I have my own food blog, so I *try* to take a lot of pictures but of course most of them come out blurry. These are great ideas to use for the majority of my pictures – and using them for graphics is a great idea too! Now I will certainly think twice, or three times, before deleting a blurry photo!
Thank you, Jessica, I’m so glad that you found these ideas helpful! Out of curiosity, what is the name of your food blog? I’m interested in food as well, so I’d love to check it out!